You can connect an Amazon S3 target to the data flow, and load the ETL into Amazon S3 as a delimited Text file.
Configure the Amazon S3 Target
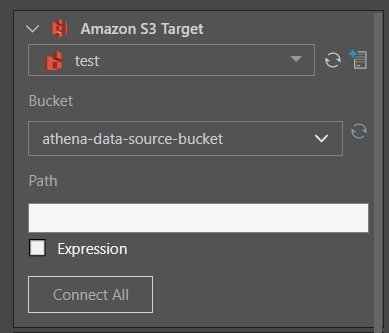
To load the ETL into an Amazon S3 target, add the Amazon S3 node from the Targets panel to the data flow.
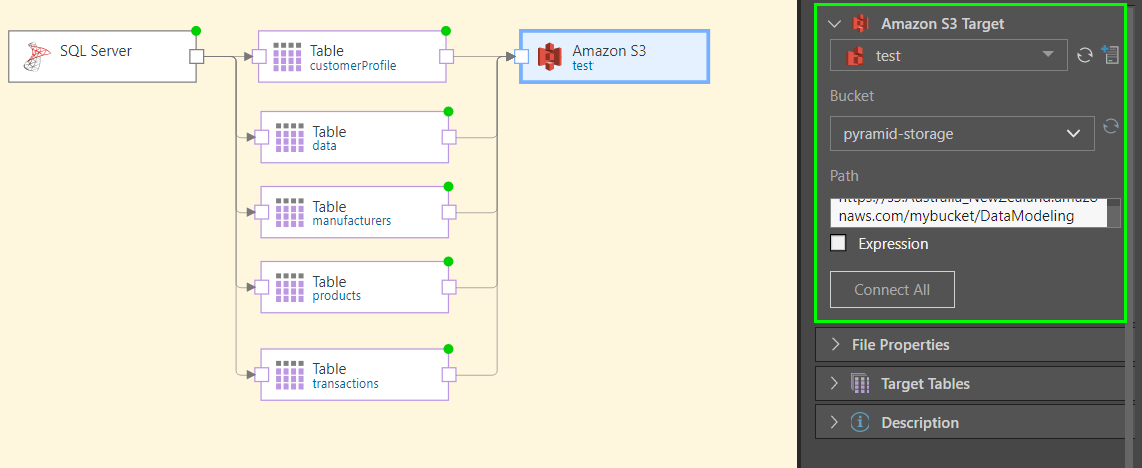
- Amazon S3 Target: select the required Amazon S3 target from the server dropdown list.
- Bucket: choose the required Bucket.
- Folder Path: enter the access path to the bucket. This path can be a static value, or you can create a dynamic PQL expression in the PQL editor.
- Expression: enable this option to create a dynamic PQL expression to point to the folder path.
Next, click 'Connect All' to connect the target to the data flow.
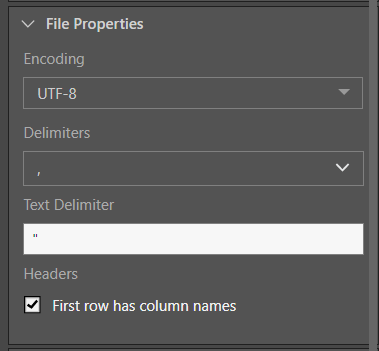
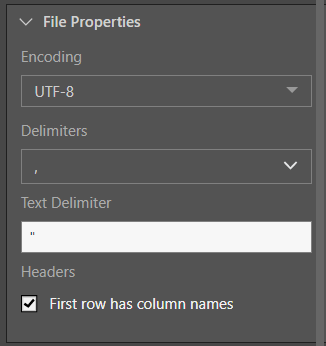
From the File Properties window, set the properties of the Amazon S3 file output:
- Encoding: provide the character encoding set for the new database file.
- Delimiters: select or enter the value delimiter.
- Text Delimiter: enter the text delimiter.
- Headers: if the file's first row is made up of column names, enable 'First row has column names'.
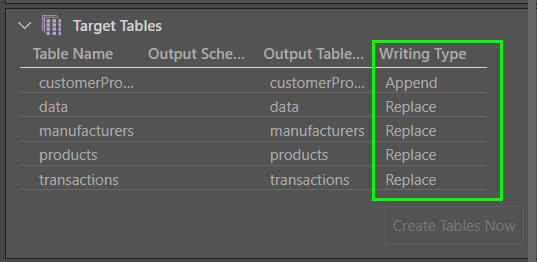
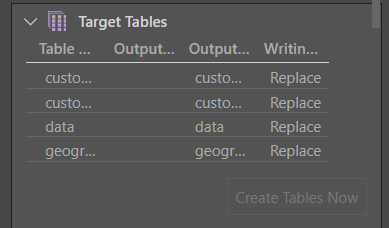
Target Tables
From the Target Tables panel, you can rename the table outputs and change the writing type.
- Click here to learn more about target tables.
Description
Expand the Description window to add a description or notes to the node. The description is visible only from the Properties panel of the node, and does not produce any outputs. This is a useful way to document the ETL pipeline for yourself and other users.
Run the ETL
As there is no database or in-memory destination, the Data Model and Security stages are not relevant. Skip these steps and simply run the ETL from the Data Flow.
In this example, the user connected the data flow to an Amazon S3 target; the server, bucket, and path were provided in the Target properties (green highlight below).
The encoding, value delimiter, and text delimiter were set form the file properties:
And Finally, the writing type was set for each table: